Home Security Camera Installation: A Complete 2026 Guide
Your end-to-end home security camera installation guide. Learn planning, wiring, setup, privacy compliance, and how to hire a verified pro.

You're probably standing in the driveway or pacing the hallway, looking at eaves, doorways, and corners, trying to decide what needs a camera and what only feels important in the moment. That's where most home security camera installation projects go sideways. People buy gear first, then discover the front porch has weak signal, the soffit doesn't hide cable the way they expected, or the camera that looked perfect on the box points straight into a neighbor's window.
The good news is that this work is much more manageable once you treat it like a layout and verification job instead of a gadget purchase. In the U.S., 61% of households now have at least one security camera, up from 52% in 2024, equal to about 74.9 million homes, and 49% of alarm-system users installed their own systems versus 42% who hired a professional, according to SafeHome's home security industry report. DIY has gone mainstream, but the installs that hold up still follow trade discipline.
zoning workflow](#a-practical-privacy-zoning-workflow)
Your Guide to a Secure and Smart Installation
A solid home security camera installation does two jobs at once. It gives you useful coverage when something happens, and it avoids creating new problems with bad placement, bad wiring, or privacy complaints. Most homeowners focus on the first part and underestimate the second.
That's why a working system isn't just cameras over doors. It's coverage of entrances, approach paths, driveway activity, package drop areas, and the spots where someone can move without being seen. It also means knowing where not to point a lens, how high to mount for tamper resistance, and when a wired camera is worth the extra labor.
Practical rule: A camera that records the wrong area very clearly is still a bad install.
If you're still deciding what kind of system fits your house, it helps to explore home security for a connected home before you lock yourself into one ecosystem. Compatibility, power method, storage, and app quality matter more than flashy packaging.
For homeowners who also want to check how service providers handle verification and trust before bringing someone onto the property, homeowner protection services can help frame what to look for beyond a simple online review.
The Blueprint Your First Hour of Planning
The first hour decides whether the install feels clean and intentional or turns into patchwork. Don't start with the app. Don't start with a cart full of cameras. Start with a property walk, a sketch, and a decision on what each camera must prove if you ever need the footage.
The category is only getting bigger. The global wireless home security camera market was estimated at USD 11.3 billion by 2025 and is forecast to reach USD 35.9 billion by 2035, with a 12.1% CAGR from 2026 to 2035, and GM Insights notes North America is the largest market while Asia Pacific is the fastest-growing region. That tells you two things. Home camera systems aren't niche anymore, and there's more gear on the market than most homeowners need.
Walk the property before you shop
Start outside. Stand at every door, first-floor window, gate, driveway entrance, and backyard access point. Ask one question at each location: what am I trying to capture here?
Sometimes the answer is identification. At a front door, you usually want a face, package activity, and a clear view of anyone lingering. At a driveway, you may care more about vehicle movement and approach path than a close face shot. In a side yard, the goal is often to remove a blind spot.
Use a notepad and mark:
A lot of generic placement advice stops there. If you want another angle on basic location logic, these surveillance camera installation tips are useful as a starting point. Just don't confuse placement suggestions with a full installation plan.
Choose the camera type based on failure points
Homeowners usually choose by convenience. Installers choose by what's most likely to fail.
| Feature | Power over Ethernet (PoE) | Wi-Fi (Wireless) | Battery-Powered |
|---|---|---|---|
| Reliability | Strongest option for stable video and power | Good if signal is strong and power is nearby | Most vulnerable to missed events from low battery or conservative wake settings |
| Installation effort | Highest labor because of cable routing | Moderate, easier if outlet access is simple | Easiest physical install |
| Best use | Permanent perimeter coverage, driveways, and key entrances | Doors, garages, and spots with dependable Wi-Fi | Light-duty locations or places where wiring is impractical |
| Maintenance | Low once installed well | Moderate, mainly app and network troubleshooting | Highest because batteries need regular attention |
| Tamper resistance | Best when cable is hidden in wall, soffit, or conduit | Better than battery if powered securely | Weakest if mounted low or easy to reach |
| What usually goes wrong | Poor cable route planning or rushed terminations | Weak signal, outlet problems, app dependence | Dead batteries, delayed clips, and homeowner neglect |
PoE is still the cleanest answer when you want a system to work every day without babysitting it. Wi-Fi can work very well, but only when the signal at the actual mount point is good, not just good inside the room behind it. Battery cameras are fine for convenience, but they're not what I'd choose for the most important view on the property.
Buy for the scene, not the spec sheet
Resolution matters, but scene fit matters more. A well-placed 1080p camera aimed tightly at a gate can deliver more usable footage than a poorly aimed higher-resolution camera covering half the yard and part of the street.
Focus on practical features:
Gathering Your Tools and Materials
Most bad installs don't fail because the camera was cheap. They fail because the installer started with half the tools, guessed at the fasteners, and improvised the cable path after the ladder was already up. A clean home security camera installation starts on the floor, with all parts laid out and matched to the house.
Core tools that save time
You don't need a van full of gear, but you do need the right basics.
Materials that make the job look finished
The difference between a homeowner install and a tidy professional-looking one is often in the small materials.
A camera can survive mediocre software. It usually won't survive a bad exterior penetration.
Set out your safety gear too. Gloves, eye protection, and dust control matter, especially when you're drilling overhead into soffits, masonry, or old framing that throws debris.
The Core Installation Process Demystified
The install itself should feel boring. That's a good sign. The jobs that go wrong usually involve rushing to mount first and troubleshoot later.

Bench test before you touch a ladder
A reliable workflow is to set up the software first, then temporarily place each camera, test signal strength and video quality, and only then drill and fasten it, as outlined in Security.org's camera installation guide. That workflow saves rework because you catch pairing issues, weak Wi-Fi, bad fields of view, and defective hardware before the camera is fixed in place.
Here's the bench-test sequence I recommend:
Mounting before testing is how people end up drilling twice and patching siding once.
Mounting and cable work that lasts
When you're satisfied with the live view, mount the camera on a solid surface. Flexy trim, loose vinyl, and thin decorative fascia create shaky footage and callbacks. If the supplied template is decent, use it. Pilot holes help keep the mount straight and reduce cracked trim.
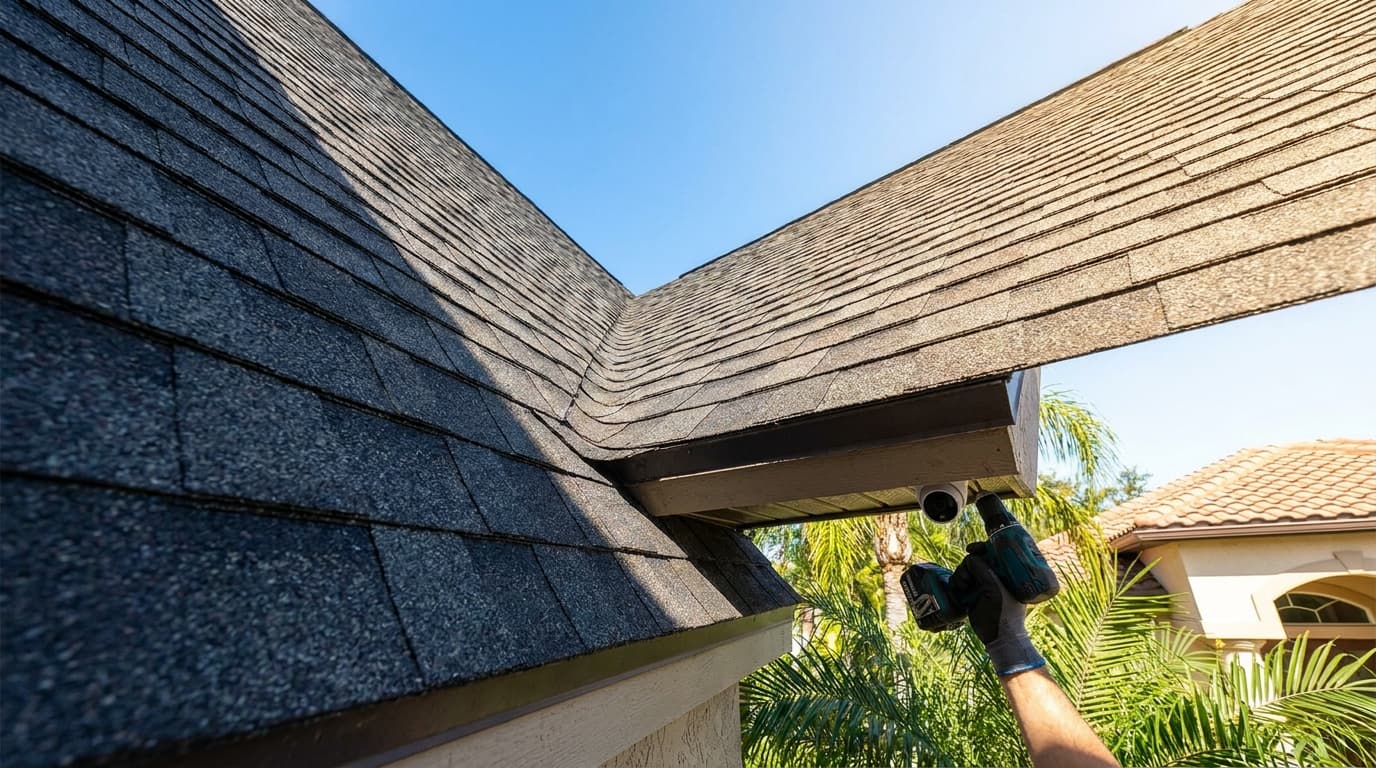
For outdoor locations, keep the camera high enough to discourage tampering. A common benchmark from installer guidance is at least 10 feet off the ground. That height isn't magic, but it does reduce the odds of someone grabbing, twisting, or spray-painting the unit during approach.
For wired systems, the benchmark is cleaner and more secure cable routing. Home Depot's installation guide recommends running cabling through wall penetrations or behind drywall to the DVR or NVR, using a larger cable-exit hole where needed, fish tape for tight spaces, and cable clips or conduit to protect the run. That same guidance also notes mounting on a solid surface, drilling pilot holes with the template, and recording each camera input port during DVR hookup so later troubleshooting doesn't turn into a guessing game.
A few habits make a big difference:
A visual walkthrough can help if you want to compare your process against a basic field install:
Final hookup and field verification
Once cameras are mounted and connected, do a full end-to-end test. Don't stop at “it has a picture.” Check the recorder or app, playback, notifications, night image, and angle refinement.
Walk the path a person would take. Enter through each door. Cross the driveway. Stand at the package drop point. Check whether faces are visible, whether motion starts too late, and whether glare wipes out the image at night.
If you're using a DVR or NVR, keep a written or labeled record of which camera lands on which input. It sounds basic, but it prevents wasted time later when “Camera 3” in the app isn't the side yard you thought it was.
System Setup and Performance Fine-Tuning
A mounted camera still isn't a finished system. Most complaints about home security camera installation come from setup issues after the hardware is already in place. Too many alerts. Not enough alerts. Missed clips. Headlights blowing out the driveway image. Night video that looks fine in the app preview but fails when you try to identify someone.
Set recording and alerts with a purpose
Start by deciding what each camera should do. Not every camera needs the same recording mode.
If your platform supports motion zones, use them. Draw them around your walkway, porch, gate opening, or vehicle approach path. Exclude moving branches, busy roads, and other repetitive triggers that fill storage and train you to ignore notifications.
The goal isn't more alerts. The goal is fewer alerts that mean something.
Storage settings matter too. Continuous recording gives the best event context on systems designed for it. Motion-only recording saves space, but it depends heavily on detection tuning. If the event starts late, the clip starts late.
Tune the image at the times that matter
Daytime checks aren't enough. Walk the property again after dark, and if possible, around sunrise or when porch and street lighting mix. Those transition periods expose bad angles fast.
Look for:
Small angle changes can fix a lot. So can relocating a nearby light or narrowing the field of view. This is the stage where restraint pays off. Don't keep the wide shot just because it seems like more coverage. Keep the shot that gives useful evidence.
Legal and Privacy Compliance Done Right
Most guides tell you to cover every entry point. That's fine as far as it goes. The problem is that real homes sit near sidewalks, driveways, neighboring yards, upstairs windows, and shared property lines. A camera can be physically installed correctly and still be legally careless.
The stakes are no longer hypothetical. Guardian Alarm reports that 68% of homeowners install cameras that inadvertently record neighbors' windows or public streets, and privacy lawsuits against residential camera owners surged by 45% in 2024 to 2025 in key markets. That's the part most installation guides skip.

Privacy is part of the install, not an afterthought
You need a practical rule set. Don't aim cameras into areas where people are likely to expect privacy, such as inside a neighbor's windows or into enclosed private-use spaces. Don't assume a wide shot is harmless because your intent is good. Complaints usually start with what the camera captures, not why you installed it.
This is where software matters as much as mounting. Many camera platforms include privacy masking or similar tools that black out parts of the image. Use them. If the edge of your frame catches a neighboring window, trim the angle first and mask the rest if needed.
A practical privacy zoning workflow
Use this process before you finalize every exterior camera:
Good security respects property lines. Great security respects privacy lines too.
Signage may also make sense depending on the property and local expectations, especially where visitors, service providers, or shared access areas are involved. Even when signage isn't strictly required, clarity reduces conflict.
When to Hire a Pro and How to Vet Them
Some installs are straightforward. Others are a mess of high soffits, stubborn wall cavities, recorder setup, and app integration problems. If your project involves multi-camera cable fishing, difficult exterior surfaces, or a system that has to work right the first time, hiring a pro can save you money and aggravation.
The key is screening the installer like you'd screen the hardware. Ask what type of systems they install most often. Ask how they handle cable concealment, weatherproofing, privacy masking, and final testing. Ask whether they label runs, document camera views, and verify recorder inputs at handoff.

A simple screening tool helps keep the conversation grounded. This contractor hiring checklist is useful for confirming the basics before anyone starts drilling into your house. License status, insurance, background checks, and proof of past work all matter when you're inviting someone onto the property and trusting them with security equipment placement.
A good installer should talk comfortably about trade-offs. They shouldn't push battery cameras everywhere for convenience. They shouldn't dismiss privacy concerns. And they shouldn't act like software setup is separate from installation. It's all one job.
If you want a straightforward way to evaluate who you hire, HomeProBadge gives homeowners a place to review verified credentials, proof of work, and service-provider trust details before booking a project.
Disclaimer
Not legal or professional advice. The information in this article is provided for general educational purposes only and does not constitute legal, financial, regulatory, or professional advice of any kind. HomeProBadge and ScreenForge Labs LLC are not law firms and do not provide legal services. Nothing on this site creates an attorney-client relationship. Always consult a licensed attorney, contractor, or qualified professional in your jurisdiction before making decisions based on information found here.
AI-assisted content. This article was researched and drafted with the assistance of artificial intelligence. The author, Matthew Luke, contributed his perspectives, editorial judgment, and subject-matter opinions to shape the content — but portions of the writing, research, and structure were generated or refined using AI tools. We believe in transparency about how our content is made.