

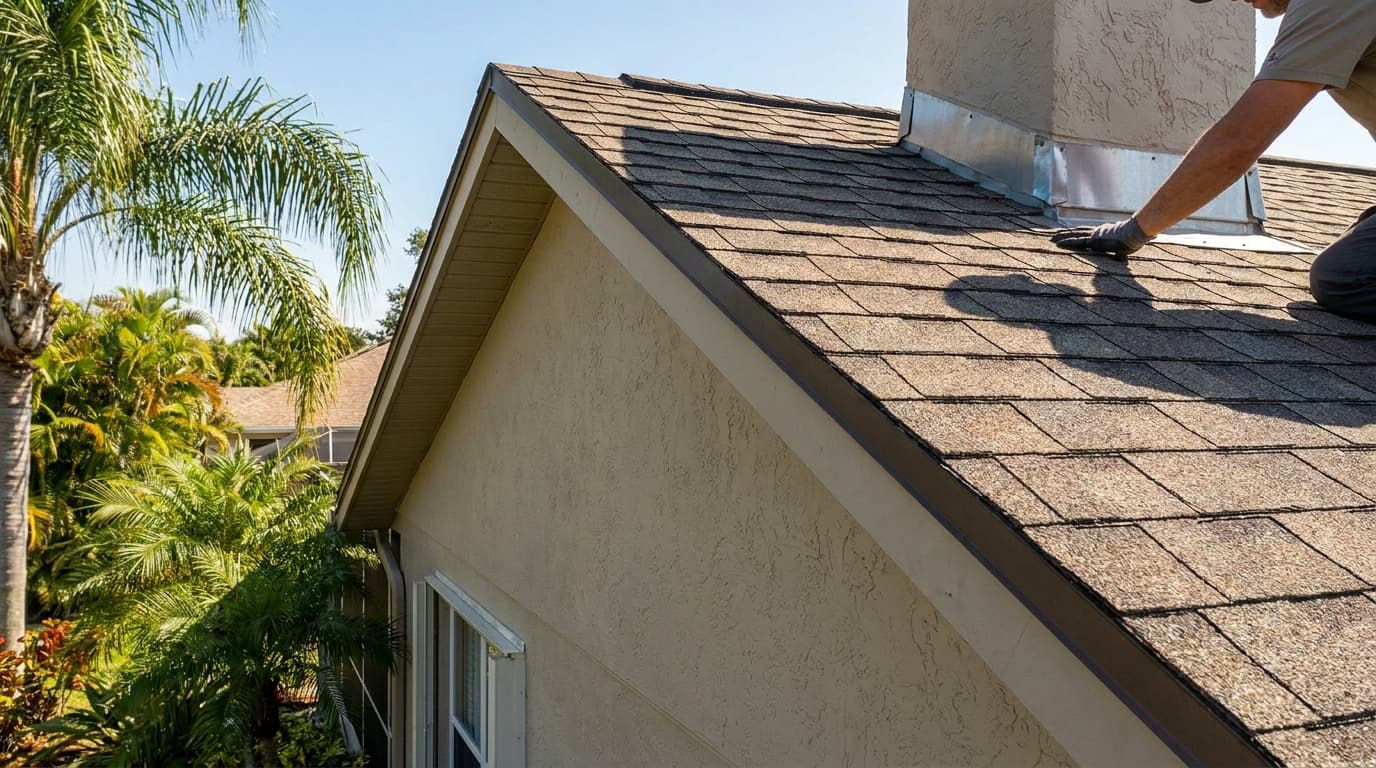

The most common advice for a leaking roof is also the most misleading: smear roofing cement over the visible gap and call it fixed. That approach may slow water briefly, but it doesn't rebuild the layers that are supposed to move rain from the roof surface into the drainage system.
Flashing isn't decorative metal trim. It's a water-control assembly at the places where roofing meets walls, chimneys, vents, valleys, skylights, edges, and changes in slope. To understand the components involved, this guide to roof flashing is a useful reference, but the repair itself requires more than identifying a strip of metal. You need to find the entry path, expose the failed sequence, and rebuild it so every layer sheds water outward.
Why Caulk Fails and Water Paths Matter
A ceiling stain tells you where water became visible, not necessarily where it entered. Rain can move sideways beneath shingles, along roof decking, through insulation, or inside a wall cavity before it reaches the interior. That's why a stain below a chimney may come from the uphill flashing, a sidewall, a valley, or a damaged penetration rather than the exact spot directly above it.
Start outside by tracing uphill from the interior evidence. Inspect the roof-to-wall junction, chimney, skylight, plumbing vent, valley, eave, rake edge, and any place the roof changes direction. Look for open laps, corrosion, lifted metal, exposed fasteners, missing pieces, reverse overlaps, and blocked drainage. Then inspect the attic or underside of the roof deck for dampness, darkened wood, damaged insulation, and a trail that points toward the entry assembly.
Practical rule: Treat the stain as the end of the water path, not the beginning.
The scale of flashing-related failures explains why this diagnostic discipline matters. A Southern California study of 163 roof leaks found that 68% were related to flashing, compared with 13% attributed to membrane leaks (Roofing Contractor). The lesson isn't that every leak comes from flashing. It's that transitions and penetrations deserve systematic attention before anyone blames the broad roof field.
What surface repairs can and cannot do
Caulk has a legitimate role when a sound flashing detail has a failed sealant joint. It can support a properly lapped assembly, seal a compatible exposed edge, or finish a seam that the manufacturer requires. It can't create a missing overlap, replace corroded metal, correct a reverse lap, or connect the roof drainage plane to the wall drainage plane.
A bead applied across the face of failed counterflashing often cracks as masonry, metal, shingles, and framing move at different rates. Water then finds the same opening, sometimes with the added problem that the patch has concealed the defect from the next inspection. The durable repair usually means lifting or removing enough roofing to inspect the complete sequence, then replacing or rebuilding the damaged components.
Gathering the Right Tools and Code-Compliant Materials
Preparation determines whether a flashing repair becomes a durable reconstruction or an improvised patch. Before accessing the roof, assess the slope, height, weather, surface condition, and fall exposure. Use appropriate non-slip footwear, a properly fitted harness where required, secure access equipment, and roof brackets or other fall-protection systems suitable for the structure.
For the repair itself, assemble a flat bar or shingle pry tool, utility knife, hammer, snips, a chalk line, measuring tools, compatible fasteners, replacement shingles or membrane, and approved sealant. Keep spare underlayment and protection for exposed materials nearby. A magnet can help locate loose ferrous fasteners, while a camera or phone makes it easier to record concealed conditions before closing the assembly.

Select materials that work together
The International Residential Code, Section R903.2, requires flashing at roof and wall intersections, roof openings and penetrations, and changes in roof slope or direction. The cited minimum for corrosion-resistant metal flashing is 0.019 inch, equivalent to 26-gauge galvanized steel (IRC flashing guidance). Local jurisdictions may add amendments for wind, coastal exposure, materials, or permits, so verify the locally adopted code before cutting metal.
Match the replacement metal to the existing assembly and confirm compatibility between dissimilar metals. Contact between incompatible metals can accelerate corrosion, especially where moisture remains trapped. The correct thickness, profile, coating, fastener type, and sealant depend on whether you're repairing step flashing, apron flashing, counterflashing, drip edge, a valley, or a pipe penetration.
The drainage edge deserves the same attention as a wall intersection. Review the installation sequence in this drip edge installation guide before disturbing the eave. A flashing piece that looks correct from above can still direct water behind the fascia if the underlayment, drip edge, and roof covering don't overlap in the right order.
Rebuilding Step and Kick-Out Flashing at Sidewalls
Sidewall leaks often come from a detail that looks intact until the shingles and siding are opened. Step flashing must work course-by-course with the roof covering, while the bottom of the wall intersection needs a kick-out that carries concentrated runoff away from the wall. Sliding a loose piece of metal over the visible joint doesn't establish either sequence.
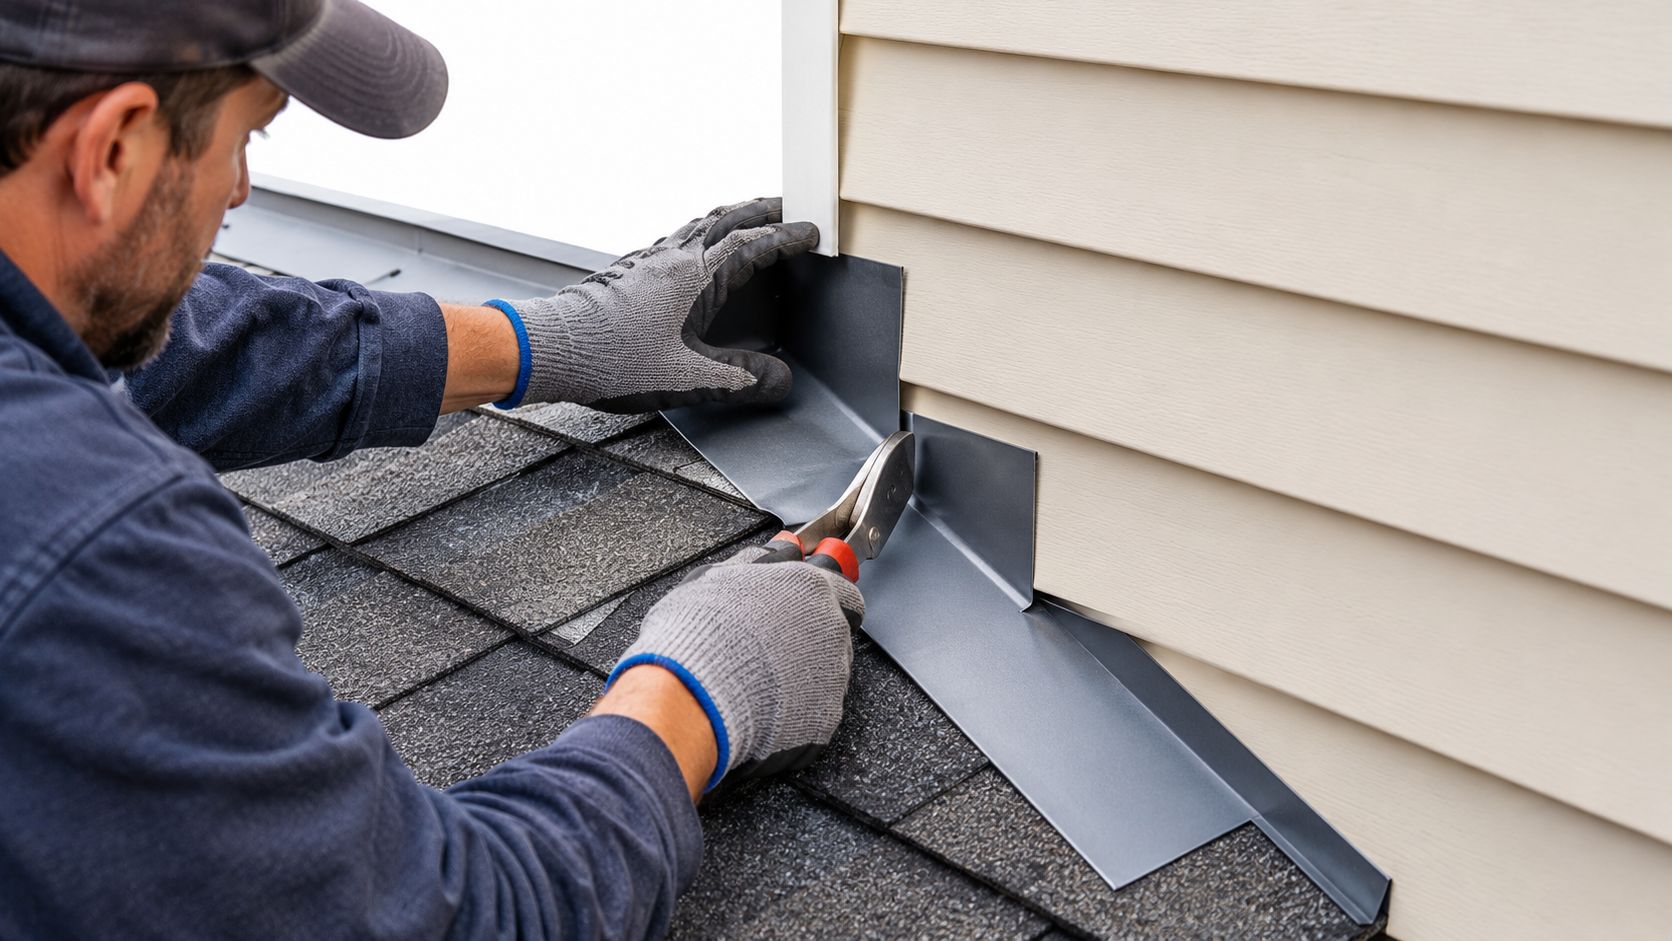
Begin by documenting the existing condition. Photograph the wall cladding, exposed flashing, shingle courses, interior evidence, and any damaged sheathing. Remove only enough shingles to expose the complete failed area, taking care not to tear reusable materials. If the wall cladding blocks the upper edge of the flashing, the siding or trim may need careful removal so the new work can be integrated instead of surface-mounted.
Build the sequence from the bottom upward
At the lower end of the roof-to-wall intersection, install a kick-out that turns runoff away from the wall and toward the exterior drainage path. Its bottom seam must be folded or sealed so water can't escape behind the wall finish. Building-science guidance requires the roof water-control layer to connect to the wall water-control layer, because an open kick-out seam can send water behind siding and contribute to concealed structural rot (NRCA installer guidance).
From there, install step flashing with each shingle course. The lower piece must discharge onto the shingle below, the next shingle must cover the appropriate portion of the flashing, and the next step piece must continue the outward overlap. Keep fasteners out of the water path and follow the roof-covering manufacturer's requirements for placement.
At the upper end, connect the step flashing to the wall and counterflashing without creating a reverse lap. The wall-side termination must shed water over the assembly below. If siding, masonry, or trim has been opened, restore its drainage plane rather than relying on caulk to bridge the gap.
The roof flashing guide for DFW contractors provides useful visual context for wall intersections, but field conditions still control the repair. A steep roof, unusual cladding, deteriorated sheathing, or concealed framing damage can turn a localized flashing replacement into a larger envelope repair.
Before replacing the last shingles, check that every piece overlaps in the direction water travels. Remove debris, confirm that the kick-out discharges clear of the wall, and leave no exposed fasteners where runoff concentrates.
Repairing Chimney Counterflashing and Plumbing Vents
Chimneys and plumbing vents fail differently because their materials and shapes move differently from the roof covering. A chimney typically uses base flashing integrated with the shingles and counterflashing set into the masonry. A plumbing vent depends on a boot or flashing flange that seals around a round pipe while accommodating weather exposure and movement.
At a chimney, inspect the cricket or back-pan where applicable, the side base flashing, the front apron, the corners, and the counterflashing. Mortar joints may deteriorate around the embedded upper edge, while the base flashing may corrode, lift, or contain inadequate laps beneath the shingles. A surface bead over the masonry joint isn't a substitute for a properly recessed and secured counterflashing edge.
Separate the base and counterflashing functions
Base flashing carries water from the chimney intersection onto the roof covering. Counterflashing protects the upper edge of that base flashing and directs water over it. If either part is missing, too short, corroded, or installed with a reverse lap, the assembly can leak even when the visible joint appears sealed.
Remove loose mortar and failed sealant carefully, then expose enough of the joint to determine whether the existing counterflashing can be reset or must be replaced. New work should be cut into sound mortar joints or installed with a suitable termination method, then sealed with a masonry-compatible product that allows the detail to function without making sealant the primary drainage layer. The guide to chimney flashing is useful for comparing common chimney configurations before work begins.
Plumbing vent repairs require a different inspection. Check the rubber boot for cracking, shrinkage, splitting, or separation from the pipe. Inspect the metal flange beneath surrounding shingles and look for fasteners placed where water flows. If the boot has failed, replace the complete compatible assembly rather than painting sealant over the damaged rubber.
A storm collar can provide an additional defense where the vent configuration calls for one, but it doesn't correct a failed roof-level flange or a damaged underlayment connection. The collar must fit the pipe, shed water outward, and be sealed with a compatible product. Don't mix materials casually, especially on membrane roofs, because PVC, TPO, EPDM, metal, adhesives, and sealants each have compatibility limits.
Verifying the Repair and Documenting the Work
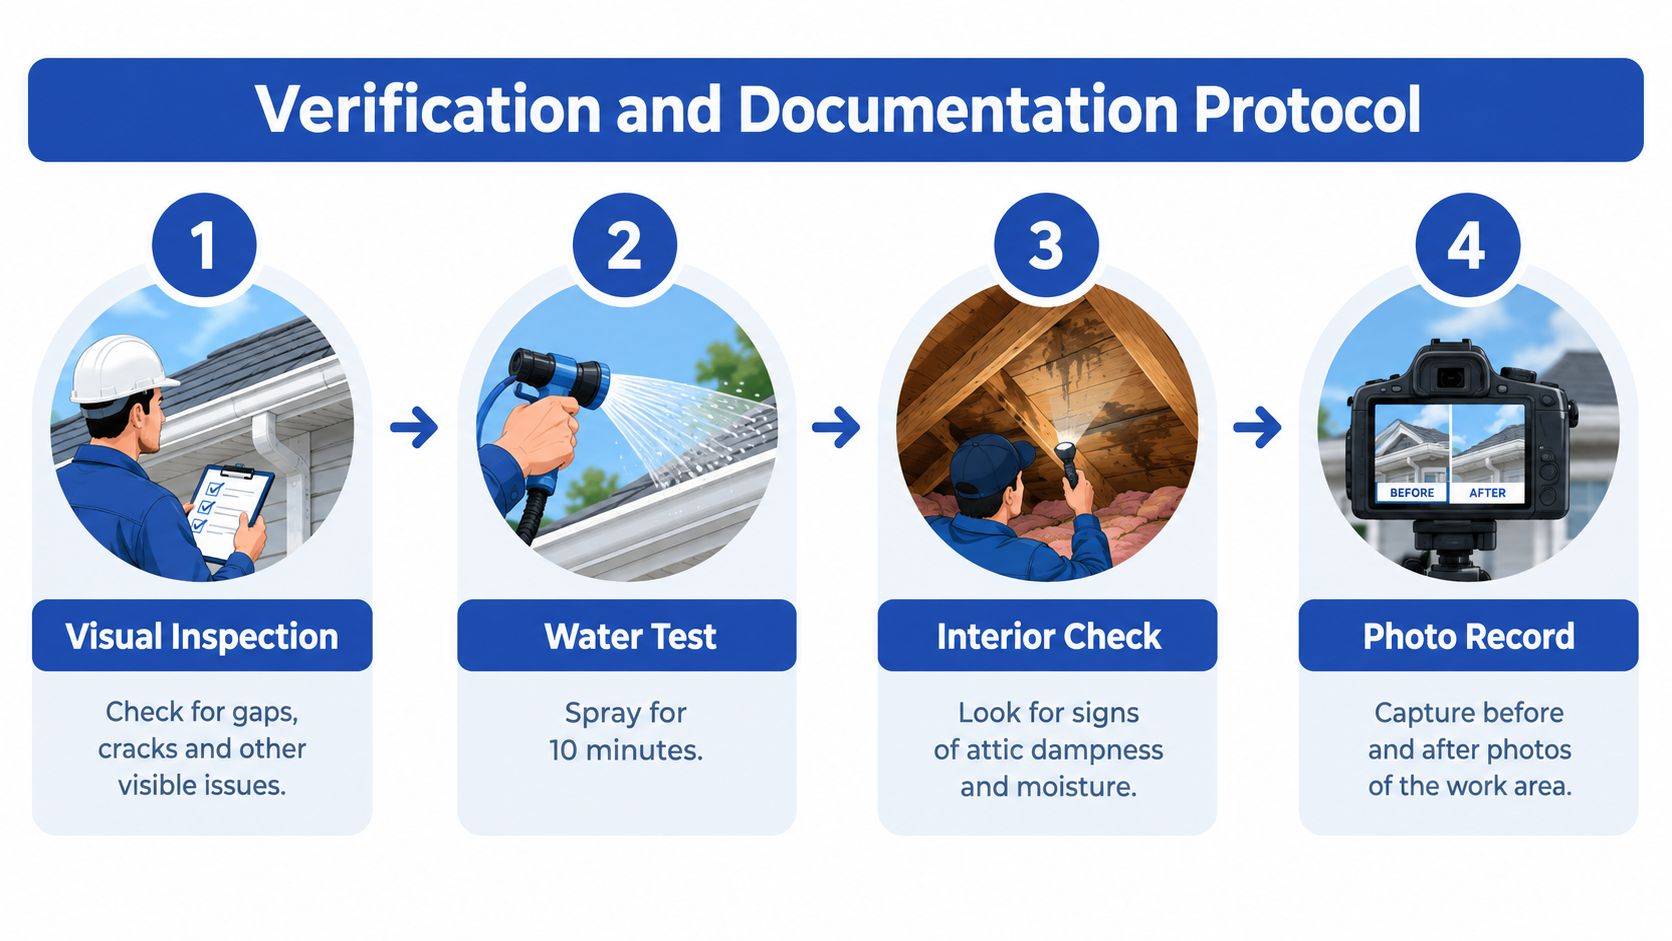
A flashing repair isn't complete when the new metal looks tidy. It's complete when the reconstructed drainage path has been inspected, tested without introducing a new leak, and documented clearly enough that another person can understand what was repaired.
Begin with a visual review from the roof surface and the attic or interior side. Confirm that laps face downslope, fasteners are properly placed, sealant is used only where specified, and adjacent shingles, membrane, siding, or masonry haven't been damaged. Check the underside for dampness or a continuing water trail.
Test the path instead of flooding the roof
Use a controlled hose test from the lowest exposure point upward. Start below the suspected opening, pause while someone observes the underside, then move gradually to the next detail. This isolates the entry path. Indiscriminately flooding the roof can send water across several assemblies and make the result impossible to interpret.
Record what happens at each stage. If water appears, stop the test, mark the location, dry the area, and inspect the corresponding lap or transition. A hose test doesn't reproduce every wind-driven storm condition, but it provides much better evidence than assuming a new bead of cement solved the problem.
Make the work verifiable
A useful project record should identify the suspected entry point, adjacent materials, the flashing components repaired, concealed damage found, materials used, applicable code edition, and completion photographs. Photograph the assembly before opening it, during tear-out, after each critical layer is installed, and after the roof covering and wall finish are restored.
This documentation protects both sides. The homeowner can see whether the contractor rebuilt the hidden layers, while the contractor can show why the scope changed if damaged sheathing or insulation was discovered. A detailed construction photo documentation workflow can help organize those records into a report instead of leaving them scattered across a phone gallery.
A finished surface proves appearance. Layer-by-layer photographs prove process.
For contractors, that distinction supports trust without exaggerated promises. Clear records also make future maintenance easier because the next technician can see where the flashing was opened, what material was installed, and whether the repair included the wall drainage connection.
When to Apply Temporary Fixes and Call a Professional
Sometimes weather, access, or material availability prevents a same-day permanent repair. In that situation, the objective is to keep water out without pretending the flashing has been fixed. Use a purpose-made roofing membrane or flashing tape on a clean, dry, sound surface, and cover exposed areas with a temporary arrangement that sheds water away from the building.
Temporary protection should never trap water against wood, block drainage, or conceal a hazardous structural condition. Inspect the interior and attic after rainfall, keep the temporary work visible to the person returning for the permanent repair, and replace it with a correctly integrated flashing assembly as soon as conditions allow.
A homeowner may manage a safe ground-level inspection or a minor repair on an accessible, low-risk roof when the failure is clearly understood. Stop and call a qualified roofing contractor when the roof is steep, access requires fall protection, the flashing disappears beneath siding or masonry, sheathing or framing may be rotten, the roof structure sags, or the intersection involves multiple stories or complex materials.
Use this guide to choosing a roofer when comparing contractors. Ask for a written scope, proof of insurance and licensing where required, the applicable code basis, photos of concealed conditions, and a clear explanation of how the new flashing connects to the surrounding roof and wall layers. The right contractor won't define success as “more caulk.” They'll define it as a continuous drainage path that can be inspected and verified.
HomeProBadge helps roofing professionals document that drainage path with verified credentials, tamper-resistant before-and-after proof, and public project records homeowners can evaluate. If you're hiring for a flashing repair or building trust around your own roofing business, visit HomeProBadge to see how verified proof of work can support better decisions and stronger referrals.